Managing Multiple Stores in the Workspace
If you're thinking of expanding your photo operations into new locations or activities, this page is for you! PicThrive is here to support you through your expansion and help put some of the pieces i…
If you're thinking of expanding your photo operations into new locations or activities, this page is for you!
PicThrive is here to support you through your expansion and help put some of the pieces into place. We're here to help provide context to what your day to day will be like with multiple stores. Take a look below at the changes to Workspace when operating with Multiple Stores!
There are tons of ways to use multiple locations and activities in your operations. Managing multiple stores with PicThrive makes it easier to manage where your team is uploading, and what metrics each location is generating. Below, we've highlighted some of the key changes in the Workspace.
- Some of the first things to look for are the new "Filter by Store" (1) and "Store to Create Album" (2) buttons, which will appear in the top green toolbar.
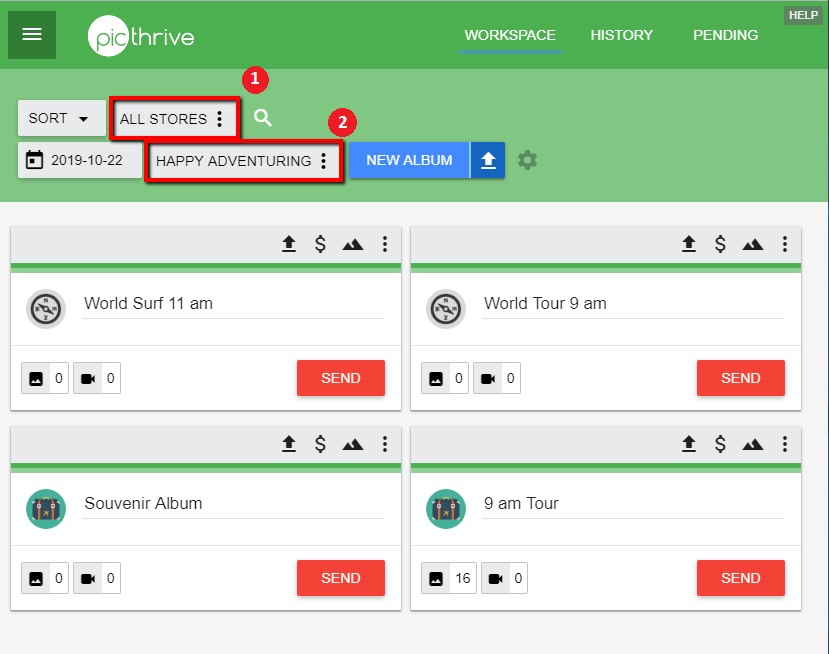
- When the "All Stores" (1) filter is active, you'll see all albums created by all stores.
- The "Filter by Store" (2) option will help you view specific store albums, or all albums uploaded by all stores

- The "Filter by Store" (2) option will help you view specific store albums, or all albums uploaded by all stores
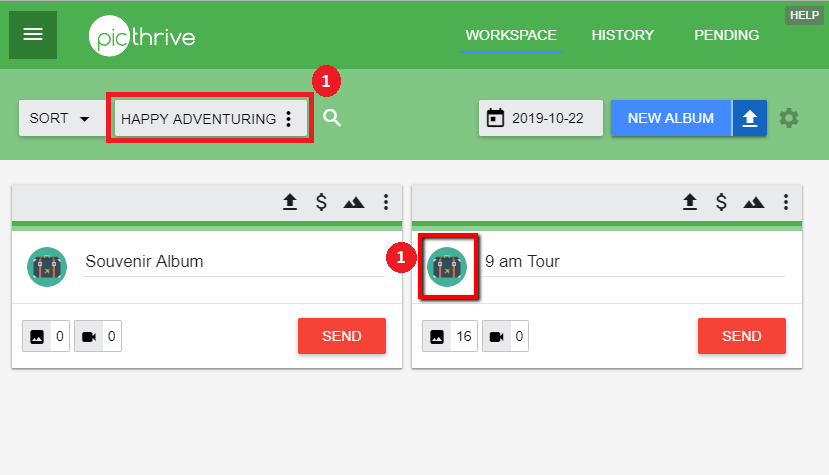
- If you change the filter to a specific store (1), the workspace will filter out all albums created by this store.This is the recommended setting when you have multiple uploading stations.
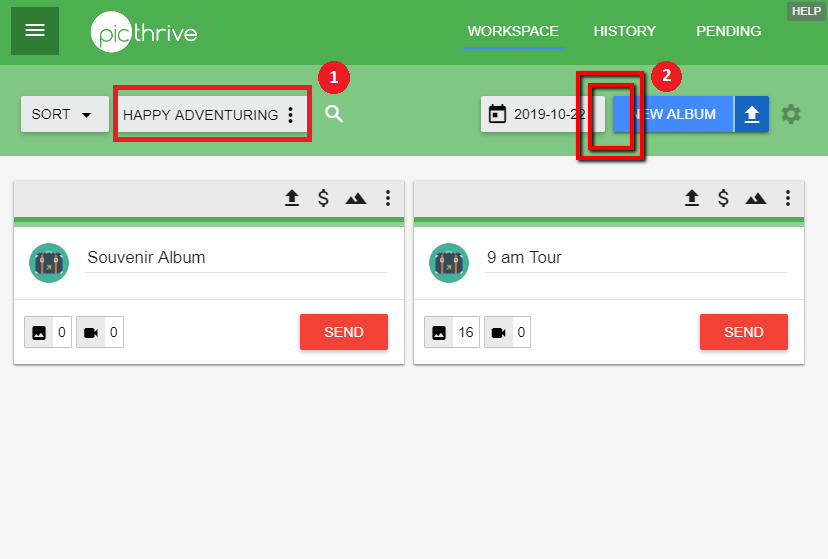
- Changing the "Store Filter" (1) to a specific location will remove the "Store to Create Album" (2) button, as your workspace will now be set to a specific store.
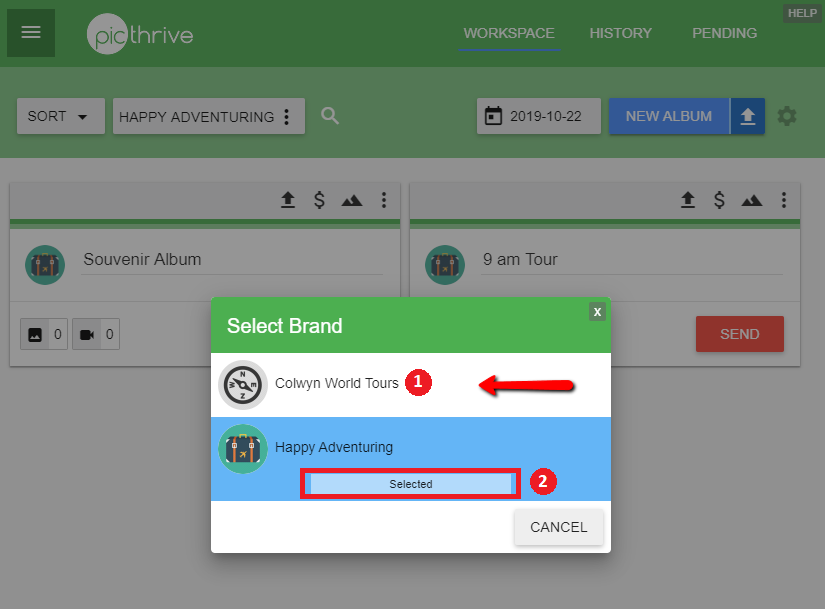
Changing an Album's Store
Clicking the Store Logo on an album will bring up the "Select Store" dialogue. You'll see your selected Store (2) highlighted in blue with a "selected" status. By selecting the other Store (1), you will automatically move the album!
How did we do?
How do I refund a customer?
Online Store Button