How to control a connected Camera
Once you have Connect a Camera to PicThrive Instant you can control it via the opened window. Adjust Settings. On the right hand side will be a list of settings available for the camera, including it…
Once you have Connect a Camera to PicThrive Instant you can control it via the opened window.
Adjust Settings
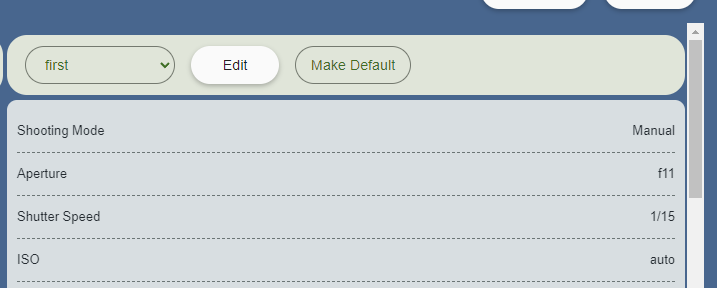
On the right hand side will be a list of settings available for the camera, including its "Shooting Mode", "Shutter Speed", "ISO" and more. These settings can be saved as "Presets" to easily switch between as needed.
- Click "Edit" on the bar above the settings
- Adjust each setting you as you wish
- Tip: Use Live View to get a preview of your settings changes
- Give your preset a new name to create a new preset, or hit "Save"
Take a photo
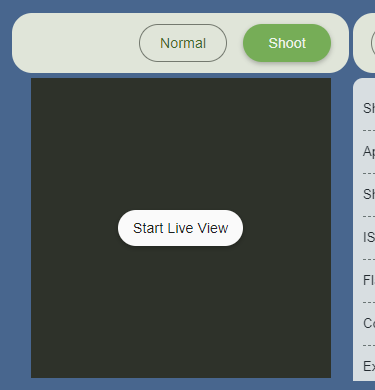
On the left hand side the Live View, "Shoot" and quick mode options are displayed.
- Click "Shoot" to take a photo
- Click on hold down the "Shoot" button to hold down the shutter button. This is useful in continuous shooting mode.
- Hold "Ctrl" then click and hold on "Shoot" to "Half-Press" the shutter button. Releasing control will press the button fully, while letting go of the mouse will release the shutter button.
We provide two easy modes for taking photos. "Normal" & "Automated". Clcik on either name to switch to that mode.
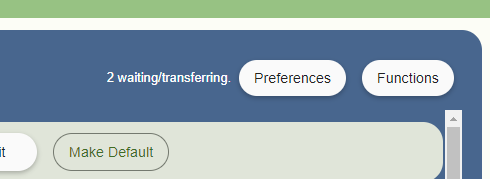
When a new file is detect, it will automatically start transferring. The top right, next to "Preferences" will show how many files are waiting to transfer.
Automated
Automated mode provides a "as best as possible" automation of camera taking. Click on the "Gear" icon beside automated to adjust the settings. It will let you change how frequently it will try to take a photo, the default is once every second.
Live View
To start a live view on the camera click on "Start Live View". To end the "Live View" mouse over the live view, and click the "Stop Live View" button.
Camera Control Preferences
Click on "Preferences" on the top right to adjust how PicThrive Instant treats your camera.
- Turn on "Delete files after transferring" to have photos removed from the SD Card after they have transfered to PicThrive Instant.
- Turn on "Auto connect" to automatically connect to the camera when PicThrive Instant starts
- Use the "Forget" section have PicThrive Instant remove its saved info on the camera
Camera Functions
- "Clean Sensor" is available on some, but no all cameras.
- View the space remaining on any SD Cards plugged into the Camera.
- Use "Format" to delete the data on the camera. Any data deleted will be unrecoverable.
- Use "Transfer Contents" to have PicThrive Instant scan the contents of the camera and start transferring them over.
Tips
- Use the top bar to turn off "Manually pick albums" and turn on "Auto move new" files into a selected album. This lets you select a created album from the Drop Down and have any new captured files automatically get transferred into that folder.
- Check Folder Detection / Monitoring for info on what happens to transfered files. All files will get transferred into that folder. These settings will adjust if they are deleted or not after uploading.
How did we do?
How to connect a Camera to PicThrive Instant
List of supported cameras